
If you want to know how to compare Gear Second Third Fourth tradeoffs, skip the simple “which is strongest?” ranking. Start with the problem Luffy needs to solve: does he need to keep up, break a defense, survive pressure, or finish the battle before his resources run out?
Gear Second, Gear Third, and Gear Fourth are not a clean ladder where each new form replaces the last. Each changes Luffy’s fighting style and asks him to pay in a different way. Gear Second favors pace. Gear Third favors reach and impact. Gear Fourth delivers a much larger burst, but puts Haki management and timing at the center of the fight.
How to compare Gear Second Third Fourth tradeoffs
Use four questions for any Gear debate:
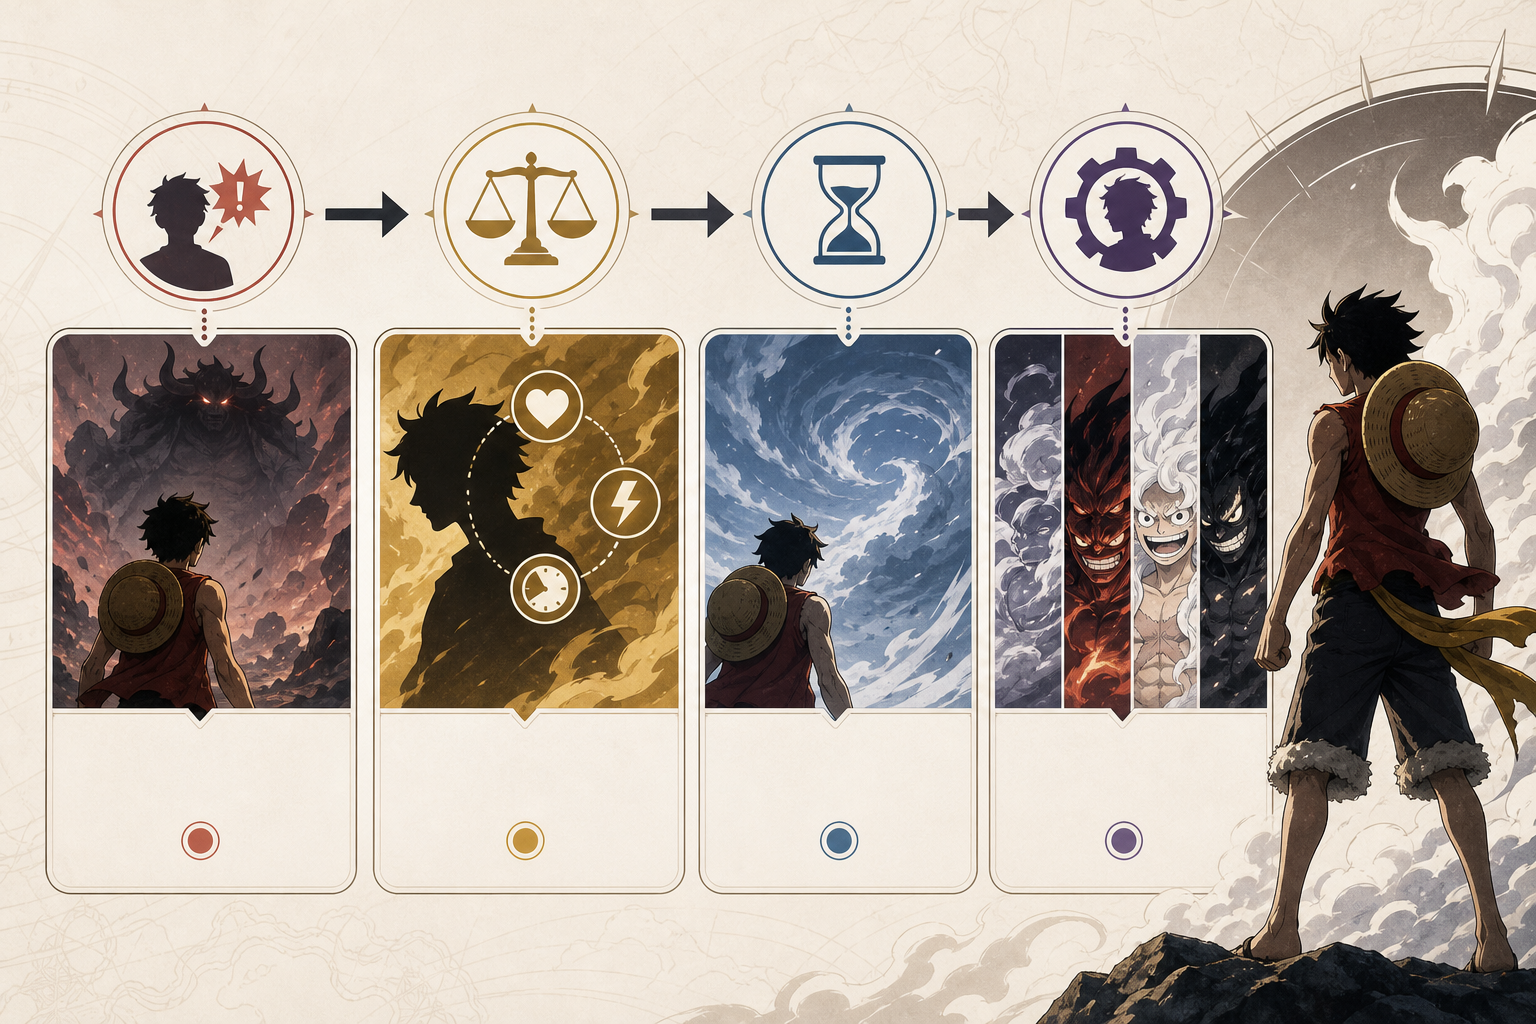
- What problem does the form solve? Speed, defense, range, or finishing power?
- What does it cost? Stamina, control, a recovery window, or Haki?
- How long can Luffy maintain it? A brief exchange and a long fight are different tests.
- What kind of opponent does it suit? A fast evasive foe calls for a different answer than a durable brawler.
| Form | Main gain | Main tradeoff | Best use case |
|---|---|---|---|
| Gear Second | Speed, pressure, rapid attacks | Physical exertion and stamina use | Forcing a faster tempo |
| Gear Third | Reach and heavy impact | Slower, larger, easier-to-read attacks | Breaking defenses or hitting large targets |
| Gear Fourth | High offense, mobility, and durability | Major Haki use, limited duration, recovery risk | Turning a difficult fight with a planned burst |
This is why “Gear Fourth is stronger” is only half an answer. It has higher peak output, but Gear Second or Gear Third can be the smarter tool when Luffy needs a lower-cost answer.
Gear Second: speed and pressure at a physical cost
Gear Second is Luffy’s answer to opponents who can react to his normal pace. By accelerating his blood flow, he gains a sharp jump in movement and attack speed. The point is not simply to hit harder. It is to deny the opponent time to settle, counter, or reset their position.
The core tradeoff
Gear Second trades physical strain for tempo. Luffy can close distance, launch combinations, and force opponents into defense. But sustained pressure costs energy. Against an enemy who can absorb the damage and drag out the fight, that cost matters.
A secondary overview of Luffy’s forms also describes Gear Second as energy-intensive, though it should be treated as an explainer rather than a primary-source guide to every limit: One Piece: All of Luffy’s Forms, Explained.
When Gear Second is the right call
Choose Gear Second in a matchup where Luffy needs to:
- Keep pace with a quick opponent
- Interrupt a fighter before they can set up a stronger attack
- Build pressure through repeated clean hits
- Turn a narrow opening into a short combo
It is less ideal when one massive strike is required or when the opponent can comfortably endure a long flurry. Gear Second wins through rhythm, not through one overwhelming blow.
Why Enies Lobby matters
Gear Second’s Enies Lobby debut makes its narrative purpose clear. Luffy does not gain a separate weapon or outside power source. He finds a more extreme use for his own rubber body. That idea remains important later: his upgrades are often solutions to a specific combat problem, not automatic replacements for every older move.
Gear Third: reach and impact, with bigger openings
Gear Third solves a different problem. Luffy inflates his bones to enlarge parts of his body, creating attacks with huge size, reach, and force. It is the form to consider when normal-sized strikes will not move the target, break the defense, or cover enough space.
The core tradeoff
Gear Third gains force and range by giving up some speed and handling. A giant attack can dominate an area, but it is also more obvious. If an agile opponent avoids the first swing, Luffy may have created an opening instead of a finish.
The key comparison is simple:
- Gear Second helps Luffy win more exchanges.
- Gear Third helps Luffy make one exchange matter much more.
When Gear Third is the right call
Gear Third fits fights where Luffy needs to:
- Crack a stubborn guard or durable body
- Reach a large target or cover a wide area
- Force an opponent to respect one decisive hit
- Create space before returning to a faster style
It is a poor answer when the main issue is tracking a quick target. Bigger attacks do not help if Luffy cannot land them.
The drawback changes, but the form’s role remains
Early Gear Third is remembered for its conspicuous aftereffect. Later appearances make that drawback far less central. Fans continue to discuss how much the old side effects still apply after the time skip, as seen in this community discussion of Luffy’s ability side effects.
That discussion is not canon evidence, but it points to a useful reading of the story: as Luffy’s control improves, Gear Third looks less like an emergency gamble. Its basic role does not change, though. It remains the big-impact option, not the best answer to every speed matchup.
Gear Fourth: huge output with a Haki timer
Gear Fourth combines extreme body inflation with Haki. It gives Luffy a dramatic increase in offensive force, movement options, and resilience. It is also the clearest example of a form that must be used with a plan.
The core tradeoff
Gear Fourth spends a major Haki budget for a powerful burst. The form’s limit and the vulnerable period that can follow make timing part of the technique. If Luffy activates it too early, an opponent may survive the initial assault and benefit from the recovery gap.
That makes Gear Fourth different from the earlier Gears. Gear Second and Gear Third have costs, but Gear Fourth turns resource management into an obvious battle condition.
When Gear Fourth is worth the risk
Gear Fourth makes sense when Luffy needs several advantages at once:
- More power to threaten a durable opponent
- More mobility to close distance or maintain pressure
- More defensive presence in close-range exchanges
- A short, decisive phase that can change the fight
It is not always the best choice in a long, uncertain battle. A lower Gear may be more efficient if Luffy only needs speed, reach, or one surprise attack.
For a closer look at the form’s development and major ideas, see our One Piece Luffy Gear Fourth guide.
Dressrosa and the shift in power scaling
Gear Fourth’s Dressrosa introduction changes the question from “Can Luffy hit hard enough?” to “Can he win before the form runs out?” That visible limit gives fights more tension than a simple permanent upgrade would.
It also explains why comparisons based on peak power alone fall short. A form with a higher ceiling can still be a worse choice if the opponent is built to stall, evade, or survive until Luffy’s Haki runs low.
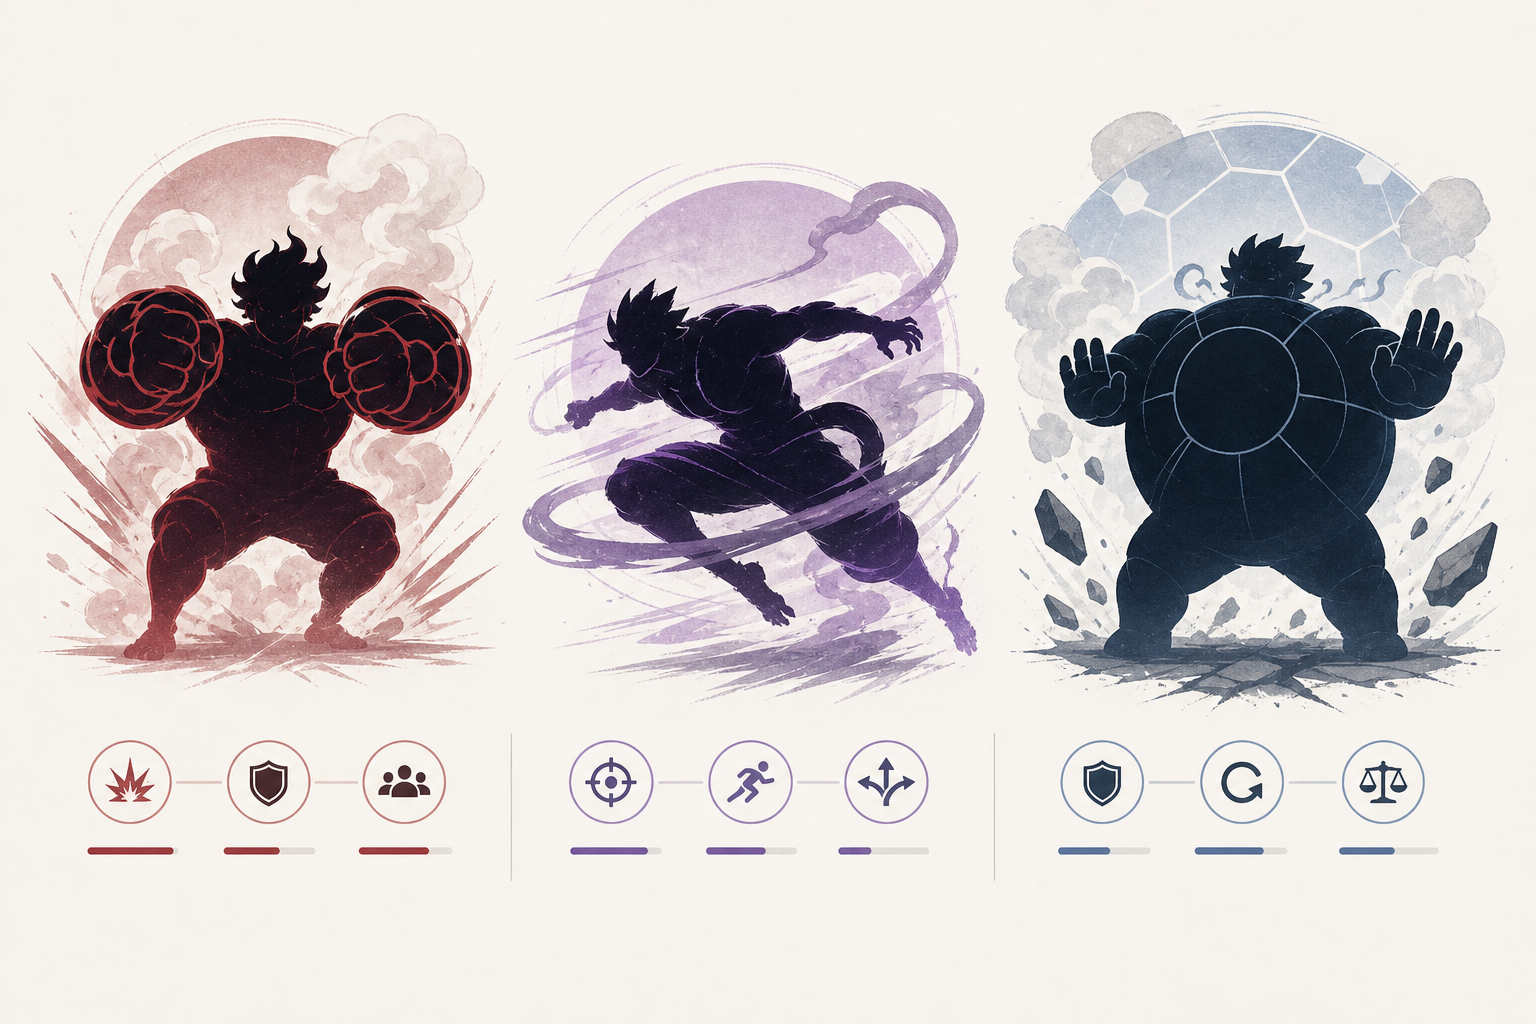
Boundman, Snakeman, and Tankman are different Gear Fourth answers
The Gear Fourth variations make the same point on a smaller scale: even within Gear Fourth, Luffy adjusts his approach to the opponent.
Boundman: the all-around pressure form
Boundman is the broadest Gear Fourth package. It emphasizes spring-like movement, heavy blows, and the ability to fight aggressively at close and mid-range. It works when Luffy needs to pressure a powerful enemy without committing entirely to defense or pursuit.
Its weakness is efficiency. Against an opponent who is mainly hard to catch, Boundman’s larger, forceful approach may not be the cleanest answer.
Snakeman: pursuit and changing attack angles
Snakeman is better understood as a pursuit-focused variation. Its attacks are built to keep chasing and changing direction, making it especially useful against opponents who evade, reposition, or read straightforward attacks well.
The tradeoff is that Snakeman is not simply “Boundman, but faster.” It prioritizes landing and sustaining pressure rather than the same style of blunt, all-purpose force. Against a foe who can absorb hits and demand a direct power contest, that emphasis may matter.
Tankman: defense in a specific situation
Tankman should not be treated like a regular, proven default stance alongside Boundman and Snakeman. The version shown in the story is tied to a particular situation and body state. Still, it reveals a useful tradeoff: Luffy can turn size and elasticity toward defense, absorption, and a counterattack rather than chase speed.
So Tankman belongs in the comparison as a situational defensive answer, not as a form with the same breadth of demonstrated matchups as Boundman or Snakeman.
A simple matchup guide
- Fast, evasive opponent: Snakeman’s pursuit and changing angles are the better fit.
- Balanced close-range brawl: Boundman offers the most flexible package.
- A specific rushdown or absorption scenario: Tankman shows how defense can become the win condition.
- One heavy opening, no need for Gear Fourth: Gear Third may be more economical.
- A need to seize tempo immediately: Gear Second may be enough.
How Haki mastery changes the comparison
Haki does not make the earlier Gears irrelevant. It changes the baseline from which Luffy uses them.
Before the time skip, Gear Second and Gear Third often feel like high-risk breakthroughs. As Luffy becomes a more capable Haki user and a more experienced fighter, he can rely on stronger base attacks and choose a Gear more deliberately. The form is no longer always the whole plan; it can be one part of a larger sequence.
Gear Second and Third become more selective tools
Later Luffy does not need to treat Gear Second as a desperate all-or-nothing push. It can serve as a burst of pace. Gear Third can serve as a heavy punctuation mark in a sequence rather than a slow commitment that defines the entire exchange.
That does not prove that every cost has disappeared. The manga and anime do not always quantify stamina or Haki use in a neat system. It does show a storytelling shift: Luffy’s improved control lets the older forms sit inside a more flexible toolkit.
For a broader way to track how the post-time-skip era changes character abilities and combat expectations, read How to Follow One Piece Time Skip Changes.
Gear Fourth remains the clearest resource gamble
Haki mastery matters most with Gear Fourth because its limitation is explicit. Better timing, sharper attacks, and fewer wasted exchanges make the form more valuable. But mastery does not remove the basic risk: Gear Fourth is still a commitment, and the recovery danger still shapes how readers should judge its use.
The narrative purpose of each power-up
The debut arcs show why these forms exist beyond power scaling.
- Enies Lobby: Gear Second and Gear Third show Luffy adapting his Devil Fruit through ingenuity. One solves speed; the other solves force.
- Thriller Bark: Nightmare Luffy is an outside, one-off boost that serves the arc’s unusual crisis. It is not a repeatable Gear and should not be placed in the same progression line.
- Dressrosa: Gear Fourth introduces a top-tier burst with a visible timer, raising both Luffy’s ceiling and the cost of misusing it.
- Wano and later: Luffy’s growth makes form choice more fluid, but matchup, stamina, and control still matter more than a simple numbered ranking.
When comparing anime and manga scenes, it also helps to separate what a form does from how a version presents it. The anime may extend an attack or emphasize impact differently without changing the form’s basic tactical purpose. Our guide to comparing anime and manga character portrayals offers a practical way to make that distinction.
Final decision: choose the Gear that solves the problem
The practical answer to how to compare Gear Second Third Fourth tradeoffs is to match the form to the immediate problem and its cost.
Gear Second is the best choice when Luffy must take control of the pace. Gear Third is the best choice when he needs reach or a wall-breaking blow. Gear Fourth is the choice for a major, Haki-dependent swing that must pay off before its limits take over.
So Gear Fourth is not always better than Gear Second or Gear Third. It is more powerful at its peak, but its cost is also more severe. The strongest reading of Luffy’s Gears is not a ranking. It is a toolkit: choose the form that solves the opponent in front of him, then ask whether Luffy can afford the price.