

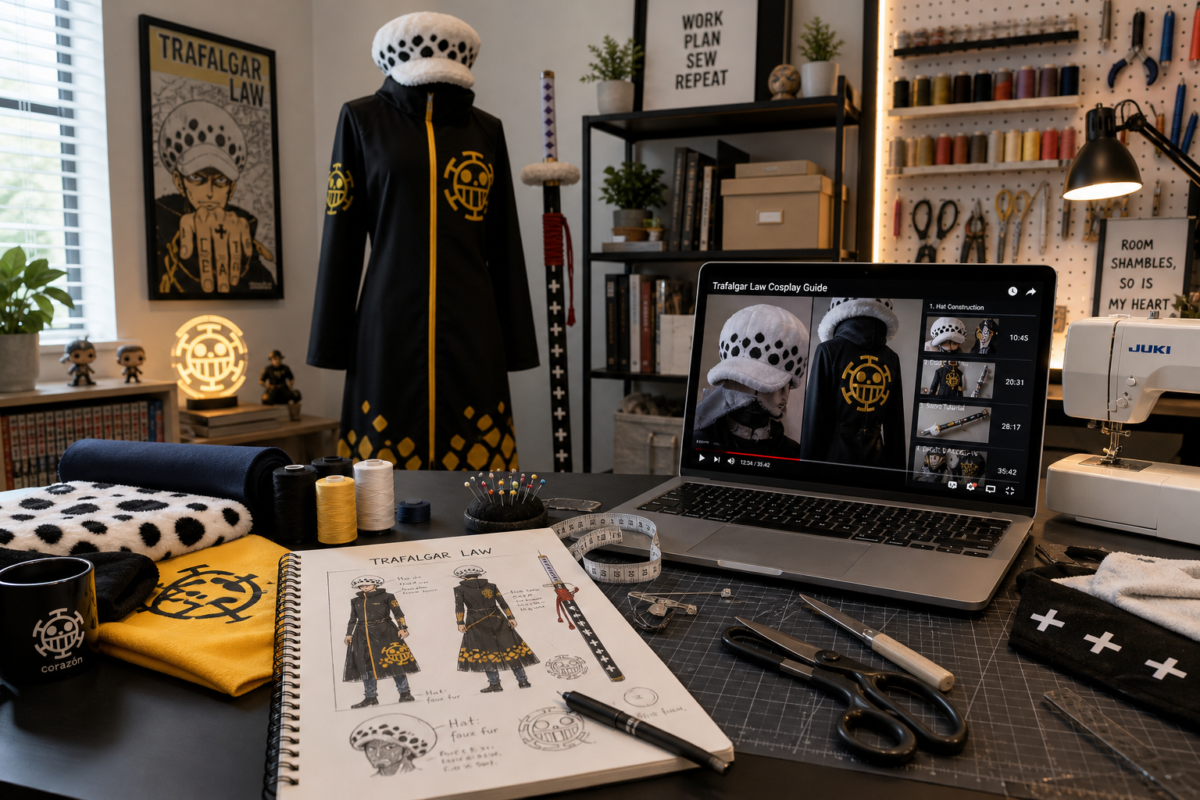
For Trafalgar Law cosplay buy or DIY, the best answer is usually neither extreme: buy the hard-to-construct base pieces, then DIY the details that improve fit and recognition. That approach can save time while leaving room for a costume that feels like yours.
Law’s look depends on a few high-visibility choices: the tall spotted hat, the outerwear silhouette, tattoos, and Kikoku. Start with your event date, budget, and skill level—not with a random full set or a giant materials list.
The quick decision: buy, DIY, or build a hybrid
Choose a premade set when you have a close deadline, do not sew often, or need a coordinated outfit with minimal trial and error. You will still want time to try it on, hem it, and test the accessories before an event.
Choose full DIY when you enjoy sewing or prop work, have time for test fits, and want control over fabric, shape, and finish. It offers the most freedom, but it also creates the most chances for delays.
Choose a hybrid build if you want the strongest balance of effort and impact. Buy the coat or top layer, hat, and comfortable basics. Then improve the fit, tattoos, weathering, and small finish details yourself. For most first and second Law builds, this is the sensible route.
| Your situation | Best route | Why |
|---|---|---|
| Convention is soon | Buy or hybrid | You avoid patterning and leave time for alterations. |
| First cosplay | Hybrid | A bought base reduces stress; simple upgrades teach useful skills. |
| You need an exact fit | DIY or hybrid | Tailoring matters more than a generic size label. |
| You enjoy sewing and have reference images | DIY | You control the silhouette and fabric choices. |
| You are travelling with the costume | Buy or hybrid | A lightweight, packable build is easier to manage. |
| You want repeat wear | Hybrid | Reinforce and upgrade the pieces that take the most use. |
If you want a broader walkthrough before deciding what to tackle, see our Trafalgar Law DIY cosplay guide.
Plan the version of Law you want to make
Before ordering or cutting fabric, pick a specific reference image and keep it open while you plan. Law’s outfit changes across appearances, and listings may combine details from different versions. A costume can still look great as a personal interpretation, but a clear reference prevents mismatched colors, layers, and patterns.
Prioritize what reads in photos
Viewers usually notice the outline before they notice tiny details. Put your effort into these elements first:
- Hat shape and spot placement. The hat is one of Law’s fastest visual cues.
- Outerwear length and fit. A clean shoulder line and the right hem length do more than extra accessories.
- Tattoos. Clear, well-placed tattoos add a lot of character in close photos.
- A safe, readable Kikoku prop. It should look intentional without becoming hard to carry or unsafe for the venue.
Use photos from the angle you expect to pose in. A detail that looks fine in a mirror can look uneven in a front-facing image.
Build for a full day, not just one photo
A costume should let you sit, walk, eat, and carry a bag. Test the hat while looking down, lift your arms in the coat, and sit in the pants before the event. A slightly less exact shoe choice is often worth it if you can wear it all day without pain.
Cosplay is often a shared, learned craft: people trade techniques, tutorials, and feedback as they build costumes and props. The Smithsonian Folklife discussion of cosplay community learning is a useful reminder that asking another maker for a second opinion is part of the process, not a shortcut.
What to buy and what to DIY, piece by piece
The table below focuses on effort and risk rather than promising one “correct” build. Your budget and local prop rules may change the answer.
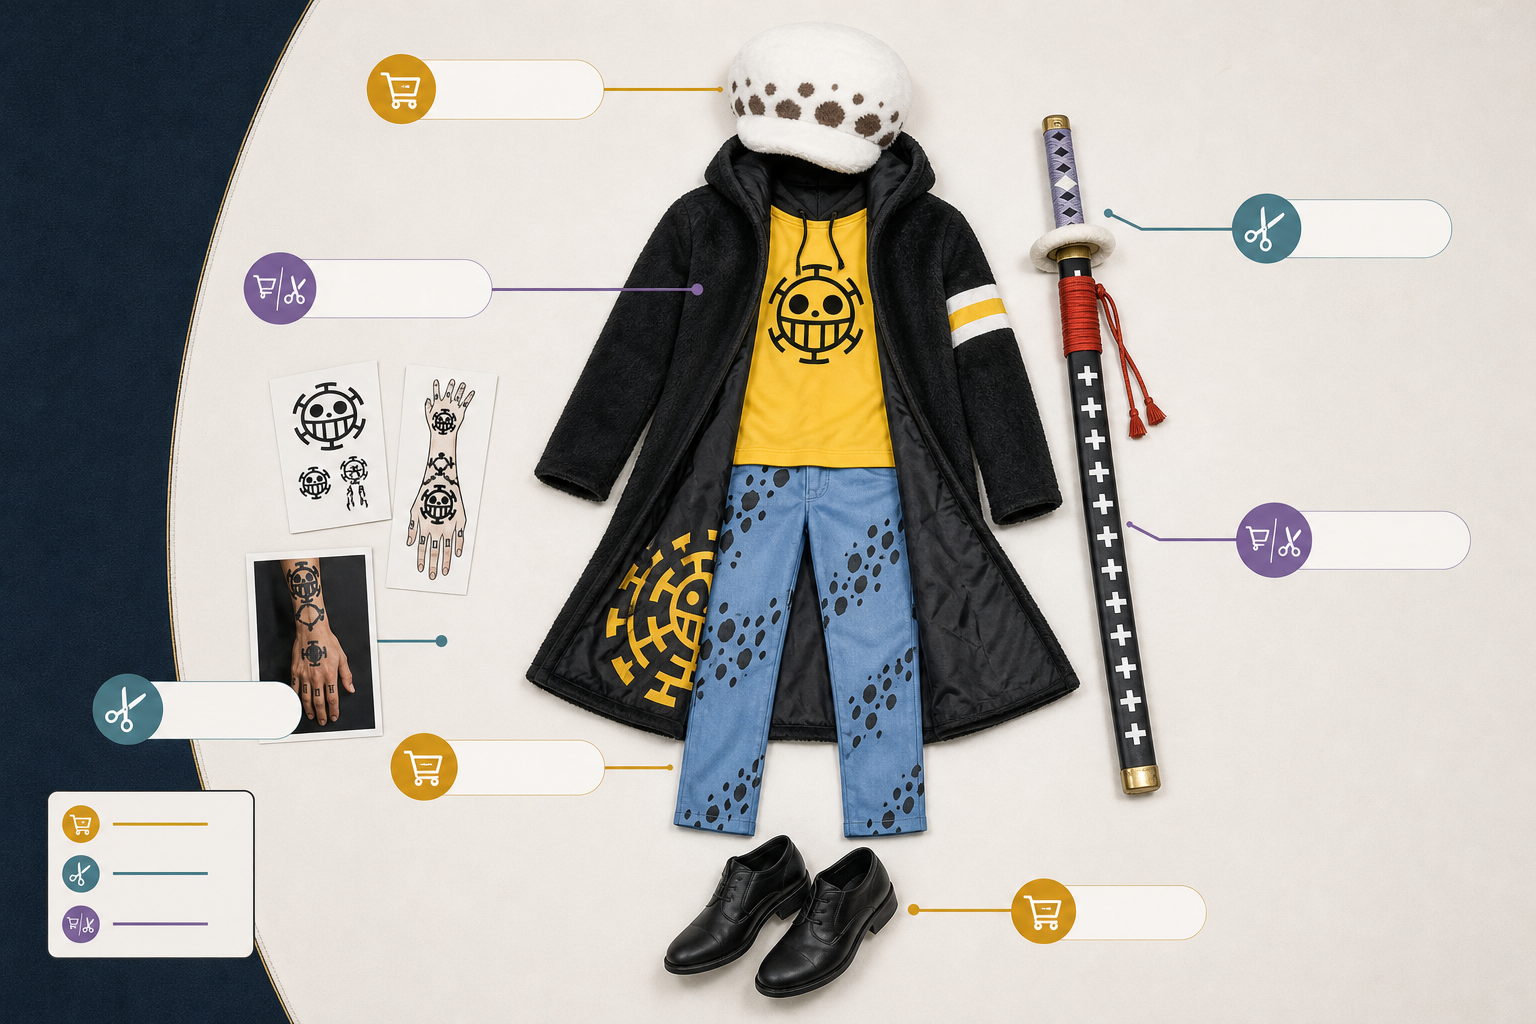
| Component | Best starting choice | Why | Common issue | Practical upgrade |
|---|---|---|---|---|
| Spotted hat | Hybrid | Buying can give you a usable shape quickly. | A floppy brim or loose fit. | Adjust the inner band; add subtle weathering only after testing. |
| Coat, hoodie, or top layer | Buy or hybrid | Fit and clean construction take time to DIY. | Boxy body, sleeves that are too long, shiny fabric. | Hem sleeves, tailor side seams, or improve closures. |
| Pants | Buy or adapt existing clothing | Comfort and fit matter most here. | Restrictive cuts or visible logos. | Choose plain, comfortable basics and make small alterations. |
| Shoes | Adapt or buy | They need to survive walking. | Costume shoes that hurt after an hour. | Prioritize safe, neutral footwear over fragile accuracy. |
| Tattoos | DIY | This is a high-impact, low-bulk upgrade. | Smudging or uneven placement. | Use a stencil or temporary tattoo paper; bring touch-up supplies. |
| Kikoku prop | Buy, DIY, or hybrid | The right choice depends on skill, transport, and event rules. | Heavy construction, sharp-looking edges, weak joints. | Use lightweight materials and confirm prop policy first. |
The hat: buy the form, customize the comfort
The hat is difficult to DIY well because the crown, brim, and spots all need to look clean at the same time. A bought hat can be a good foundation if its height and overall profile match your reference.
Check whether the band presses on your forehead or slides when you move. A simple fit adjustment can be more valuable than repainting every spot. If you change the pattern, work slowly and test paint or markers on an unseen area first.
The coat or top layer: fit is the real upgrade
A premade outer layer is often better value than making one from scratch, especially if you are new to sewing. But do not judge it only by the product image. Look for garment measurements, close-up photos, and a clear list of included pieces.
When it arrives, start with easy improvements: hem the sleeves, adjust the length, or take in loose side seams. If the fabric is thin, focus on neat pressing and clean layering rather than adding heavy materials that make it uncomfortable.
Tattoos: DIY delivers the most visible return
Temporary tattoo paper, body-safe makeup, or body-safe markers can all work. The best method is the one you can apply neatly and wear comfortably. Do a small skin test before the event, especially if you have sensitive skin.
Apply tattoos to clean, dry skin. Let each layer dry before adding a setting product, and avoid rubbing the area while dressing. Pack a small touch-up kit with your chosen product, wipes, and a reference image. Check that your removal method is appropriate for your skin and the product you use.
Kikoku: decide with safety and travel in mind
Kikoku can complete the look, but it is also the component most likely to create transport or venue problems. Check the convention’s current prop policy before you build or buy. Rules vary, and staff may inspect, tag, or require props to be secured.
A bought replica may save build time, but inspect its weight, seams, tip, and finish before relying on it. A DIY foam prop can be lighter and easier to repair, but it requires careful construction. Either way, avoid sharp edges, pack it securely, and bring a way to peace-bond it if the event requests one.
For ideas on choosing a character prop, compare options in our One Piece cosplay swords guide.
How to buy a Law cosplay without wasting money
A listing can be useful even when you plan to customize it. The goal is to buy a base you can actually wear, not to assume a product photo guarantees the result.
Check the listing before you order
Use this checklist:
- Compare your body measurements with the seller’s garment measurements. If only a general size chart appears, ask for the measurements that matter most to you.
- Confirm exactly what the set includes. A hat, belt, gloves, tattoos, or prop may be shown but not included.
- Look for customer photos that show the fabric texture, seams, and fit from more than one angle.
- Read the processing time and shipping estimate as separate steps. Leave room for delays and alterations.
- Read the return terms before removing tags or changing the garment.
- Check whether the material description is specific. “High quality” is not a fabric type.
Size for the largest measurement, then tailor down
If your measurements fall between sizes, the safer choice is often the one that gives you enough room in the shoulders, chest, hips, or thighs. It is generally easier to shorten a hem or take in a loose seam than to create extra room in a tight costume.
Try on the full costume with the underwear, shoes, and layers you expect to wear at the event. Move around before you decide it fits. A costume that looks right while standing may pull at the back or shoulders once you pose.
When a premade set is better value
A set is usually the better value when its price is close to the cost of fabric, closures, shipping, and basic tools for a DIY version—or when time is the resource you cannot replace. It is also a sound choice if you want to put your limited DIY time into tattoos, alterations, and prop finishing instead of constructing every garment.
Do not treat a premade set as a finished answer. Set aside time to steam wrinkles, test the hat, reinforce loose trim, and pack repair supplies such as safety pins, thread, tape, and a small stain wipe.
A practical hybrid build plan
For readers searching Trafalgar Law cosplay buy or DIY, this is the plan we would start with:
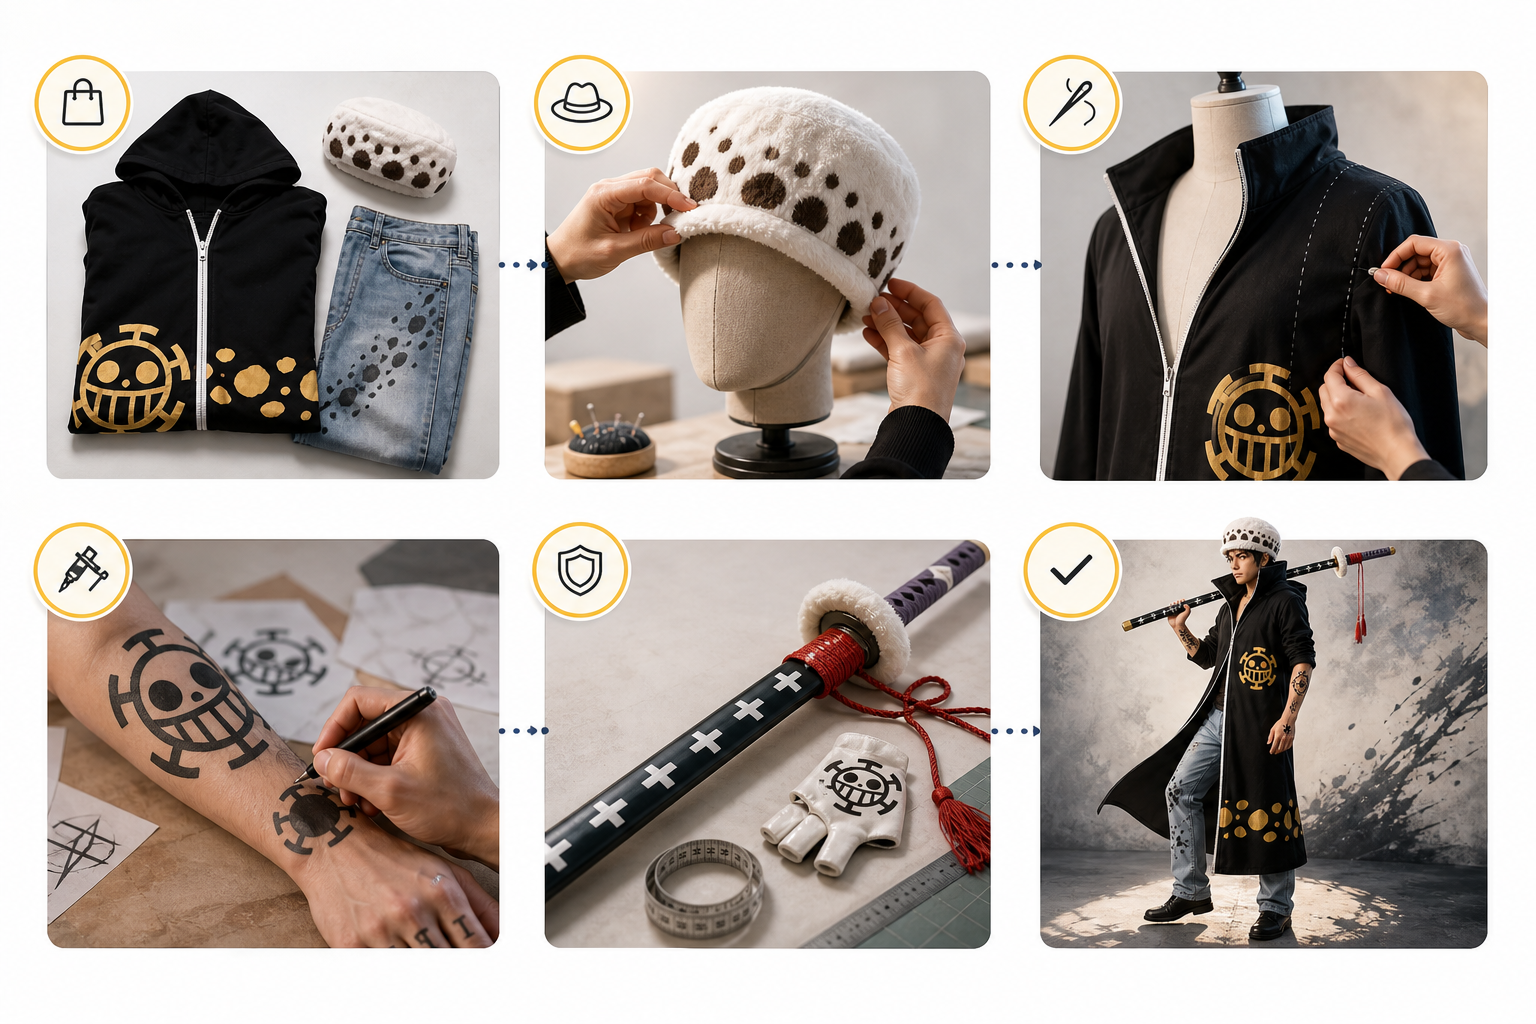
- Buy or adapt the main clothing pieces. Prioritize a workable coat or top layer, pants, and shoes you can wear for hours.
- Choose the hat early. Its size affects the whole silhouette and it may need adjustment.
- Tailor the fit. Make the simple changes first: sleeves, hem, side seams, and closures.
- Add tattoos last. Practice placement ahead of time rather than learning on the convention morning.
- Decide on Kikoku after reading the venue rules. Bring it only if it adds to your experience and can be transported safely.
- Do a complete dress rehearsal. Wear every piece for at least a short walk and take a few photos in natural light.
This route avoids the biggest full-DIY traps: rushing a tailored outer layer, making a hat that collapses, or finishing a large prop too late to test it.
If you enjoy applying these fit and prop lessons to other characters, our Roronoa Zoro cosplay guide offers another One Piece build to compare.
DIY skills worth learning first
You do not need a full workshop to improve a bought costume. Start with skills that solve common problems and are easy to reverse.
No-sew upgrades
- Steam or press the costume according to its fabric care instructions.
- Use body-safe tattoo methods and practice the layout.
- Replace an awkward closure with a more secure option if you know it will not affect returns.
- Add light, controlled weathering only after you are happy with the fit.
Beginner sewing upgrades
- Hem sleeves and pants.
- Take in a side seam gradually after pinning and trying it on.
- Reinforce loose trim or a stressed seam.
- Add a simple internal attachment point so a layer stays in place while posing.
Leave these for a later build
Avoid rushing major pattern changes, hard armor, or a large sword build if you have not tested the materials before. These projects can be rewarding, but they need spare material, safety planning, and more time than they first appear to require.
FAQ
Which parts are hardest to DIY well?
The structured hat, tailored outerwear, and a durable con-safe Kikoku prop are usually the hardest. They rely on shape, fit, or construction strength. Beginners often get better results by buying a sound base and customizing it.
Should I buy a full set or buy the base and DIY upgrades?
Buy a full set if speed and convenience matter most. Choose a base plus upgrades if you want a better fit and more personal detail without committing to a full garment build. The hybrid route is often the best value for a Law costume.
What makes a Law cosplay look accurate in photos?
Start with the hat profile, outerwear silhouette, and clean tattoo placement. Then check color consistency and whether the costume sits correctly when you pose. Clear shapes tend to read better than many tiny additions.
How can I make tattoos last through an event?
Use skin-safe products, apply them to clean dry skin, give each layer time to dry, and carry a small touch-up kit. Test your process before the event so you know how it holds up on your skin.
Is it better to buy or DIY Kikoku?
Buy if you want a ready-made option and can confirm its size, weight, and event compliance. DIY if you have the right materials, time to test the build, and a need for a lighter or more customized prop. In either case, the convention’s current rules should guide the final decision.